Unlock Your Inner Glow: The Ultimate DIY Herbal Face Mask for Glowing Skin
Let's be real for a moment. We're all chasing that elusive, lit-from-within glow. We see it on social media, in magazines, and we spend a small fortune on serums, creams, and treatments that promise a radiant complexion. But what if I told you that the secret to truly luminous skin might not be in an expensive bottle, but right in your kitchen pantry?
Welcome to the wonderful world of DIY beauty! Specifically, we're diving deep into the magic of a DIY herbal face mask for glowing skin. This isn't just about saving money; it's about taking control of what you put on your skin. It's about harnessing the raw, potent power of nature to nourish, heal, and rejuvenate your skin in a way that harsh chemicals simply can't.
Forget complicated routines and ingredients you can't pronounce. This is skincare in its purest, most effective form. Ready to get your glow on?
Why Go Herbal? The Ancient Secret to Modern Radiance
Before we get our hands dirty (in the best way possible!), let's talk about why an herbal face mask is superior. For centuries, cultures around the world have relied on plants, spices, and clays for their Ayurvedic beauty rituals. There's a reason these traditions have stood the test of time.
-
Gentle and Nurturing: Unlike many commercial products that can strip your skin of its natural oils, herbal ingredients work in harmony with your body. They're generally much gentler, making them suitable for most skin types, including sensitive skin.
-
No Nasty Chemicals: When you make your own mask, you are the quality control manager. You know exactly what’s going into it. That means no parabens, no sulfates, no synthetic fragrances, and no mysterious preservatives. Just pure, natural goodness.
-
Cost-Effective: A high-end face mask can set you back a significant amount of money. The ingredients for our DIY herbal mask are incredibly affordable and likely already sitting in your cupboards. It's premium skincare on a budget.
-
Potent and Powerful: Don't mistake "natural" for "weak." Herbs are packed with antioxidants, anti-inflammatory compounds, vitamins, and minerals. These are the very things your skin craves to fight off damage, reduce redness, and build a healthy barrier. In fact, many people are turning back to the wisdom of using powerful medicinal herbs for both health and beauty.
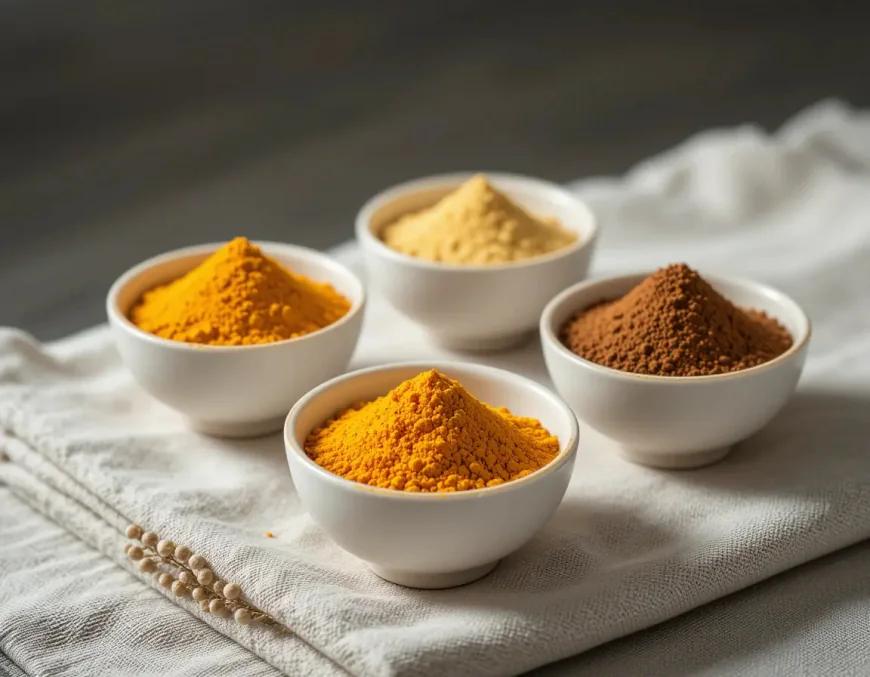
The All-Star Ingredients: Your Pantry's Skincare Superheroes
The beauty of this DIY herbal face mask is its simplicity and the potency of each individual component. Each ingredient is a powerhouse on its own; together, they create a synergy that leaves your skin looking and feeling incredible.
1. Turmeric (Haldi) - The Golden Healer
This vibrant golden spice is the undisputed king of glowing skin. Used for centuries in traditional beauty rituals, turmeric owes its magic to a compound called curcumin.
-
Benefits: Curcumin is a potent anti-inflammatory and antioxidant. It helps to calm irritated skin, reduce redness and acne, fight free-radical damage that leads to aging, and most famously, it imparts a bright, warm glow to the complexion. It can also help to lighten hyperpigmentation over time.
2. Chickpea Flour (Besan/Gram Flour) - The Gentle Exfoliator
This is the perfect base for our mask. Chickpea flour has been used as a natural cleanser and exfoliator in South Asia for generations.
-
Benefits: It gently sloughs away dead skin cells without being abrasive, revealing the fresh, new skin underneath. It helps to control excess oil, tighten pores, and draw out impurities. Using chickpea flour is a fantastic way to recieve a deep cleanse without drying out your skin.
3. Sandalwood Powder (Chandan) - The Cooling Soother
The heavenly scent of sandalwood is reason enough to use it, but its skin benefits are even more impressive. Make sure you get pure, authentic sandalwood powder for the best results.
-
Benefits: Sandalwood is naturally cooling and has antiseptic properties. It's brilliant for soothing irritated or acne-prone skin, calming sunburn, and reducing the appearance of blemishes and scars. It leaves your skin feeling incredibly smooth and refreshed.
4. Raw Honey - The Natural Humectant
Nature's liquid gold! Raw, unpasteurized honey is a must-have in any natural skincare arsenal.
-
Benefits: Honey is a natural humectant, which means it draws moisture from the air into your skin, providing deep, lasting hydration. It's also naturally antibacterial and anti-inflammatory, making it excellent for preventing and treating breakouts. The enzymes in raw honey also help to gently exfoliate and brighten the skin.
5. A Liquid Binder: Rose Water or Milk/Yogurt
You'll need a liquid to mix all these amazing powders into a paste. You have a few options, each with its own unique benefits.
-
Rose Water: An excellent toner, rose water helps to balance the skin's pH, tighten pores, and reduce redness. Its anti-inflammatory properties make it perfect for sensitive or irritated skin.
-
Milk or Yogurt: Both contain lactic acid, a type of Alpha Hydroxy Acid (AHA). Lactic acid is a gentle exfoliant that dissolves dead skin cells, brightens the complexion, and improves skin texture. The fats in milk and yogurt also provide extra moisture, making them ideal for dry or normal skin.
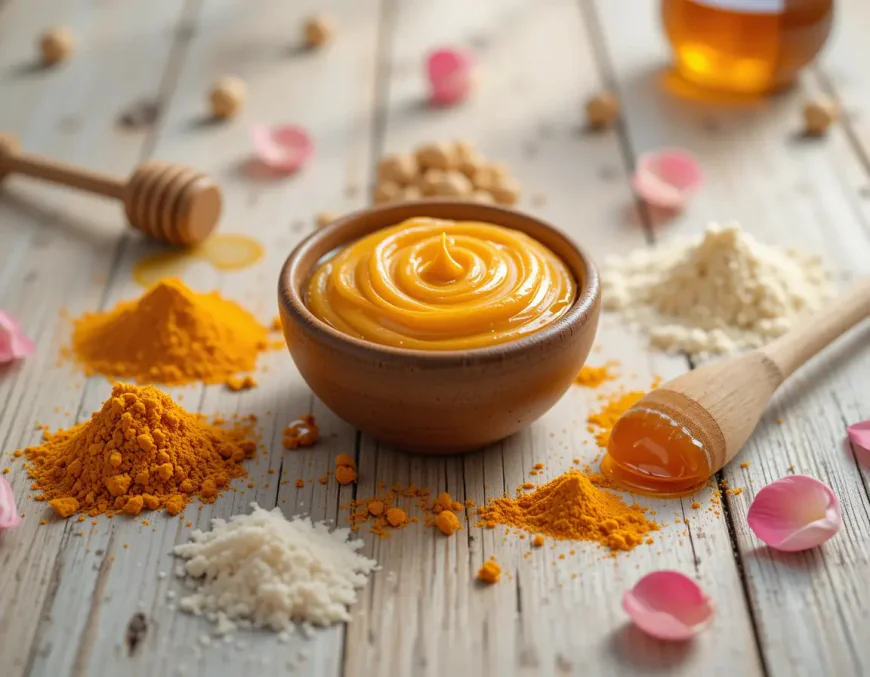
The Ultimate DIY Herbal Face Mask Recipe for Glowing Skin
Okay, it's time to put it all together! This recipe is more of a guideline; feel free to adjust the quantities to get the perfect consistency for you.
What You'll Need:
-
1 tablespoon Chickpea Flour (Besan)
-
1 teaspoon Sandalwood Powder
-
¼ teaspoon Turmeric Powder (a little goes a long way!)
-
1 teaspoon Raw Honey
-
2-3 tablespoons Rose Water or Milk/Yogurt (add slowly)
-
A non-metallic bowl and spoon (metal can sometimes react with the natural ingredints)
Step-by-Step Instructions:
-
Combine the Powders: In your non-metallic bowl, add the chickpea flour, sandalwood powder, and turmeric powder. Mix them together thoroughly until you have a uniform blend. This helps to ensure the turmeric is evenly distributed and doesn't stain one spot on your face.
-
Add the Honey: Stir in the raw honey. The mixture will become a bit clumpy and thick. This is normal.
-
Activate with Liquid: Now, slowly start adding your liquid of choice (rose water or milk/yogurt). Add one tablespoon at a time, stirring continuously. Keep adding liquid until you reach a smooth, spreadable paste. You're looking for a consistency similar to yogurt—not too thick that it's hard to spread, and not too runny that it drips everywhere.
-
Let it Sit: Allow the mask to sit for a minute or two. This allows the powders to fully absorb the liquid and activate.
How to Apply Your Mask for Maximum Glow
Application is just as important as the mask itself. Follow these steps for a spa-like experience and the best results.
-
Start with a Clean Canvas: Always apply a face mask to clean, slightly damp skin. Use your regular gentle cleanser to remove any makeup, dirt, and oil. Pat your face dry, but leave it a tiny bit damp.
-
Patch Test First! This is a non-negotiable step, especially if you have sensitive skin. Apply a small amount of the mask to an inconspicuous area, like your inner arm or behind your ear. A patch test is crucial to check for potential reactions. Wait for 10-15 minutes. If there's no redness or irritation, you're good to go.
-
Apply Evenly: Using your clean fingertips or a mask brush, apply an even layer of the herbal mask all over your face and neck. Avoid the delicate eye and mouth areas.
-
Relax and Let It Work: Now for the best part! Lie back, relax, and let the mask work its magic for 15-20 minutes. The mask will start to dry and tighten, which is a good sign. Try not to talk or make too many facial expressions.
-
Rinse Gently: Do not scrub the dry mask off! To remove it, first wet your fingertips with lukewarm water and gently massage your face in circular motions. This will loosen the mask and give you a final bit of exfoliation. Then, rinse thoroughly with lukewarm water until all traces of the mask are gone.
-
Pat Dry and Moisturize: Gently pat your skin dry with a clean, soft towel. Your skin will definately feel incredibly soft and smooth. Follow up immediately with your favorite toner and moisturizer to lock in all the benefits.
Use this mask 1-2 times a week to maintain a healthy, radiant complexion.
Conclusion: Embrace Your Natural Radiance
Creating your own DIY herbal face mask for glowing skin is more than just a beauty treatment; it's an act of self-care. It's about connecting with ancient wisdom and nourishing your body's largest organ with the respect and purity it deserves.
So, step away from the confusing labels and expensive promises. Head to your kitchen, whip up this simple yet powerful concoction, and witness the transformative power of nature. Your skin will thank you with a glow that is authentic, healthy, and all your own.